My Homelab Journey: Redundancy Without RAID
HomeLab
April, 2024
3 minutes
In the Previoues Article, I shared how I chose the server software for my home lab. We looked at the benefits and drawbacks of using a straightforward Ubuntu server versus the more complex hypervisor approach. I explained my preference for simplicity, which led me to opt for Ubuntu. Just as crucial as picking the server's software was setting up the NAS I purchased.
The Hardware
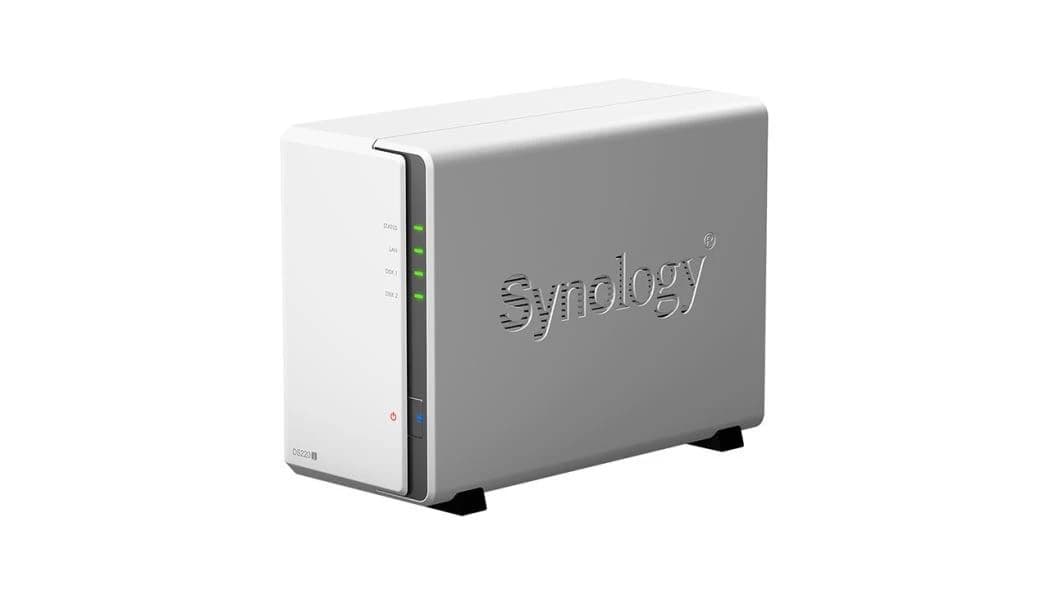 Synology 2-bay DS223J NAS Image
Before diving into the setup, let's recap the NAS hardware I initially chose. I went for a used Synology 2-bay DS223J NAS, equipped with two 4TB HDDs, to serve as my primary storage solution. Given the two-drive setup, my options for RAID configurations were limited to RAID 0, RAID 1, and JBOD (Just a Bunch Of Disks). This limitation presented my first challenge: deciding on the most suitable configuration for my needs.
Choosing The Right Configurations
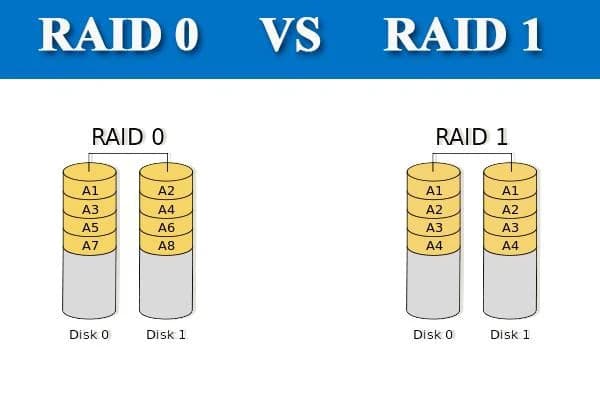 A Photo that shows RAID 0 integration on the left and RAID 1 in the right.
When it came to configuring my NAS, I had two main types of data to consider:
- Media files intended for my media server. This data didn't require redundancy or backups, as it wasn't particularly important.
- Personal backups, files, and data for my Docker containers. This information was crucial and needed proper redundancy to ensure its safety.
The RAID 1 option could provide redundancy for my backups, but it would result in a loss of 4TB of storage. Given that most of the data would be media files, this didn't seem like an efficient use of space. On the other hand, RAID 0 would allow me to use all 8TB of storage but without any redundancy, which wasn't acceptable for my important data. After weighing my options, I decided to go with JBOD (Just a Bunch Of Disks). This choice aligned with a specific plan I had in mind, aiming to balance my storage needs effectively.
The Plan
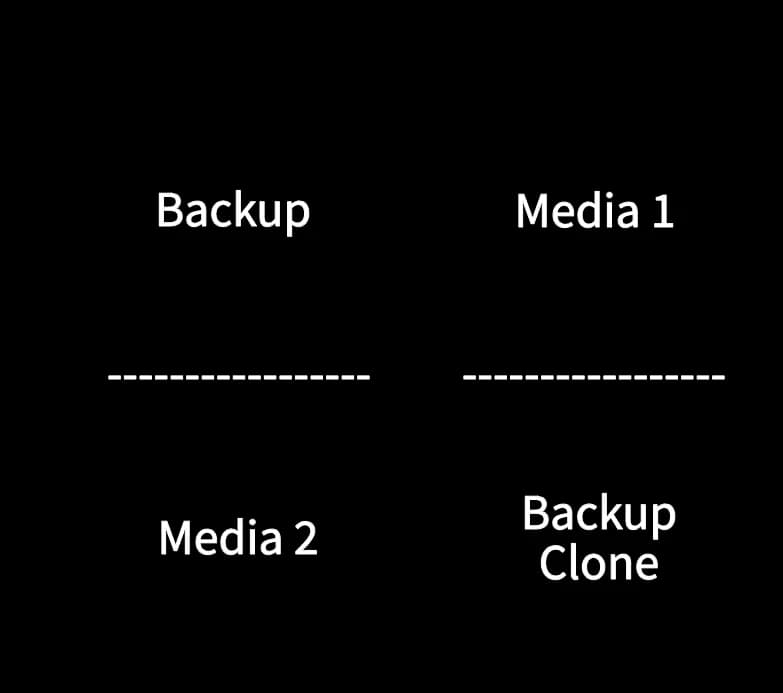 A photo that shows Disk 1 on the left that contains Backup and Media 2 volumes and Disk 2 on the right with Media 1 and Backup Clone volumes
My approach to configuring the NAS involved a creative plan that would allow me to meet both my need for redundancy in important data and efficient use of space for media files. I decided to divide each hard drive into two volumes: one dedicated to backups and the other to media storage. Here's how I organized it:
First Hard Drive:
- Volume for backups.
- Volume for Media 2 (to be used secondarily).
Second Hard Drive:
- Volume for a clone of the backups (Backup clone).
- Volume for Media 1 (primary media storage).
The strategy was straightforward:
- Store all crucial backups on the "Backup" volume of the first hard drive.
- Keep the "Backup Clone" volume hidden from the network to prevent unauthorized access or accidental alterations.
- Use "Media 1" on the second hard drive as the primary location for media files, keeping "Media 2" hidden and unused until "Media 1" was full.
This setup aimed to ensure an even distribution of write operations across both disks, balancing the workload and extending their lifespan, all while safeguarding my essential data and maximizing media storage capacity.
Cloning The Backups
To achieve redundancy for my crucial data while maintaining space efficiency, I implemented a straightforward yet effective solution. I set up a cron job on my NAS to perform a daily task. This task involved using rsync to clone the contents from the "Backup" volume to the "Backup Clone" volume every 24 hours. This process essentially turned the "Backup Clone" volume into a mirror of the "Backup" volume. By doing this, I ensured that my critical data was duplicated across two separate volumes, providing a safety net in case of a failure with the primary backup volume. This method allowed me to balance the need for redundancy of important data with the desire to use my storage space efficiently.
Upcoming: Integrating NAS with My Server and Exploring Top Open Source Projects
In my next piece, I'll talk about how I connected my NAS to my server. This lets me use the NAS to keep data for my Docker containers. It's an important step to make everything work well together. I'll also share some of the best free projects I've found that make my server even better.